Learn More About My Quilted Acrylic Artwork
- 167 views
Thank you for taking an interest in my quilted acrylic artwork!
I've created this page to give you a better understanding about the process that I use to create my quilted acrylic painted wall hangings.
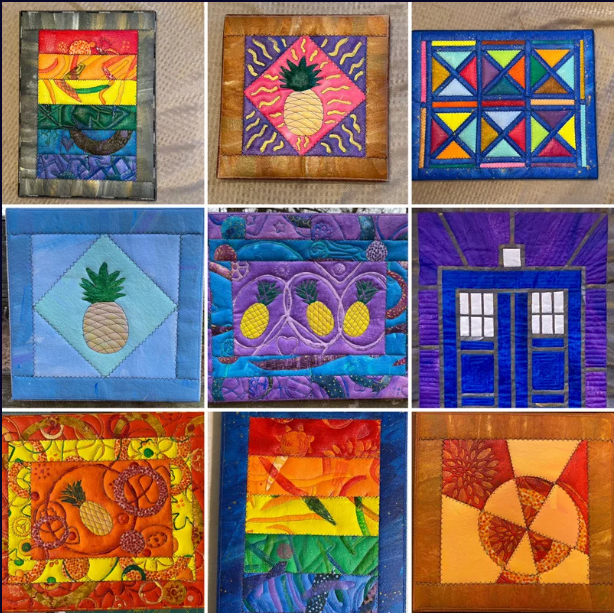
The artwork I create come in a variety of styles, from plainly painted canvases to elaborately decorated.
What does it take to create quilted acrylic artwork? First, let's breakdown the equipment and tools that are required.
- GAC-100 polymer
- Acrylic paints,
- 4 layers of light-weight canvas
- Paint brushes
- Rotary cutting blades
- Cutting mats
- Quilt rulers
- Sewing machine
- Sewing needles
- Thread
- Cotton quilt batting
- Frame wood
- Miter saw
- Staples
- Staple gun.
I buy my lightweight canvas in bulk- 6' tall by around 10-15 yards long at a time.
Each piece of artwork starts with a section of raw canvas. I tend make these really large, so that I can pull as many smaller pieces as I can. These are typically what I call mega canvass at 28" x 30".
They must first be primed, then fully dried. This usually takes a couple of days.
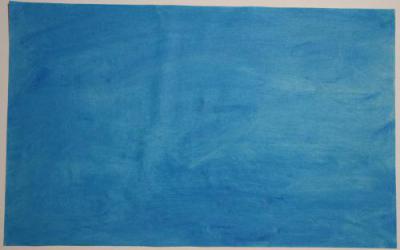
Every canvas starts with a 'ground color and a day to dry.
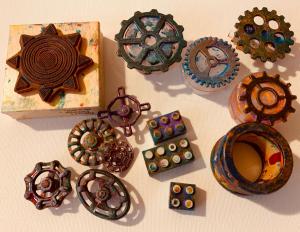
For many pieces, the canvases are next stamped with a variety of objects and rubber stamps. It really just depends on what I plan for the artwork.
After drying, they are covered with a combination of paint strokes and imprinted with a wide variety of objects and rubber stamps.
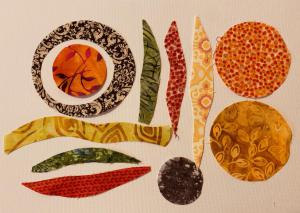
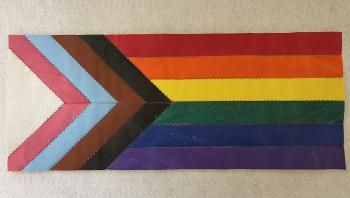
Some projects have fused fabric (strips, squiggles, circles and even donuts!)
I choose the fabric based on what I'm trying to accomplish with the finished piece. Sometimes the fabric on one canvas will match the paint color of another canvas. I've come to appreciate fabric with metallic sparkle, since it really comes through on the finished piece.
When all of these steps have been completed, a canvas will look something like this:
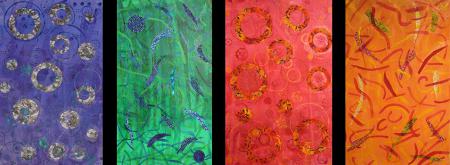
At this point, it's taken between 4 to 5 days to reach this point.
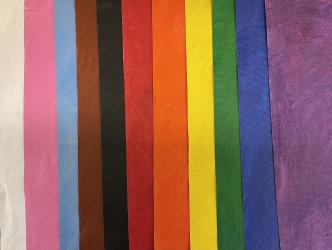
A rotary cuter and ruler are used to cut the canvases into smaller pieces- rectangles and other uniform shapes, typically in 2 inch increments.
Here are a few scraps from previous projects to give you an idea of what they will look like.
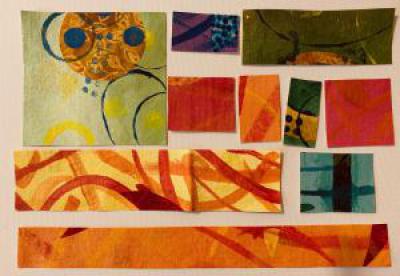
These pieces are then laid out into a design- just like regular quilting! This is usually more time consuming than you would expect, because I am constantly shifting the shapes around to find a layout that looks just right. That includes finding a balance between color, fabric, shape and paint.
Once that's achieved, it's time to start zigzag stitching them together!
It depends on how they are arranged, but I typically work in rows. There are no seam allowances, so generally the order doesn't matter very much, but it depends on how and where the intersections occur.
Once the pieces have been assembled by sewing machine, it is time to square and quilt.
A layer of regular quilt batting is cut, so that it's about 1-2 inches larger than the piece, then a matching piece of saw canvas is placed on the back.
Now the quilting begins! This process is very similar to traditional quilting.
Most of the time, I quilt along and around each of the painted strokes, the fused fabric and the imprinted shapes. It varies, based on the piece, as I decide what may work best for the overall piece.
Like any quilt, it must now be squared again, so that every corner is 90 degrees. Accurate squaring is very important.
The entire raw edge is them satin stitched, so that all of the lose ends are locked down. I chose a thread color that compliments the theme or even contrasts it in some way- the sky is the limit!
A larger section of raw canvas is cut, specially for the framing. If you're counting, this is the 4th layer of canvas:
1) Painted top. 2) Cotton batting. 3) Raw canvas. 4) Raw canvas for frame.
The artwork is centered on this canvas, then attached by a wide zigzag stitch. The zigzag stitch allows the piece to be more easily stretched around the the frame.
Break out the miter saw, because it's time to build that frame!
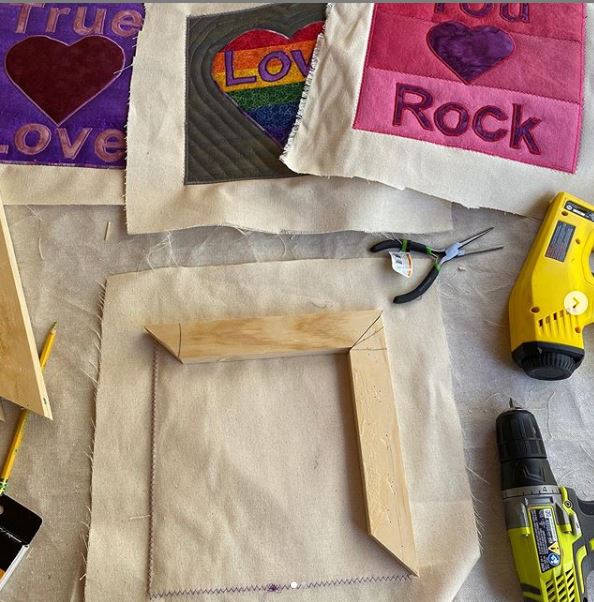
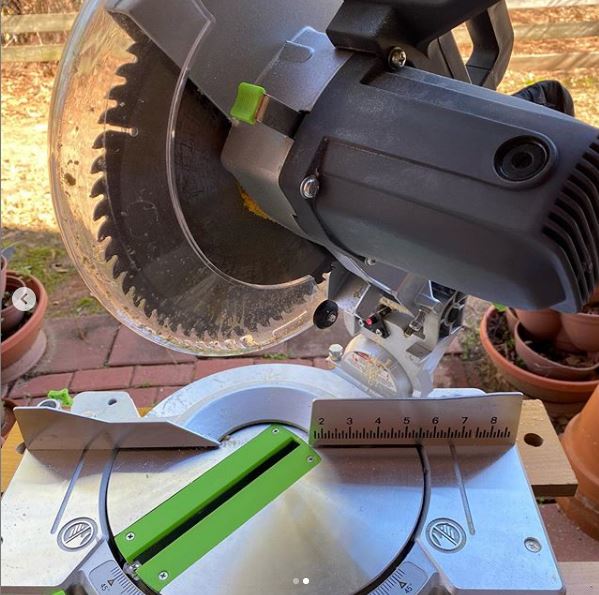
The wood must now be measured and cut at 45 degree angles to form the frame.
I stretch the canvas and test staple a few places to make sure it's going to wrap around correctly. Sometimes the frame needs some adjustments- a trim here and there. If it looks good, I then staple the frame together. The canvas is wrapped around the frame and the stapled into place.
The excess canvas is trimmed on the back side. Untreated raw canvas will completely unravel.
GAC-100 is used to stop canvas from unraveling.
I hope my explanation of the process has proven enlightening!
|
|
Behind The Artwork |
Thank for for stopping by!